Custom Furniture Pitfalls: Measuring Wrong the First Time
Get the measurement wrong and your whole Custom Furniture order is built to the wrong size — the piece simply won't fit, and because the boards are already cut, you usually pay to redo it. In Singapore flats where a 10mm gap can mean a wardrobe that won't close, this is the single mistake that costs the most money and the most delay.
Why a Small Error Becomes a Big Problem
A panel cut 2cm too long isn't "close enough." It binds against the cornice, the door won't swing, or the top won't clear the false ceiling. Once a board is cut, it can't be un-cut, and the workshop slot is already spent.
That's why the first site visit matters more than the drawing. HDB 4-room flats are listed at about 90 sqm and 5-room at about 110 sqm, but the actual rooms are rarely perfect rectangles. We treat the plan size as a guide, never as the truth.
Custom Furniture Starts With a Proper Site Survey
A correct measure isn't one number. It's a set taken at three heights and checked against the floor, ceiling, and adjacent walls. Here is what we record on every job:
Measure at the floor, mid-height, and near the ceiling. Walls bow and sag. The gap at the top is almost always wider than at the skirting, so a single reading hides the real shape.
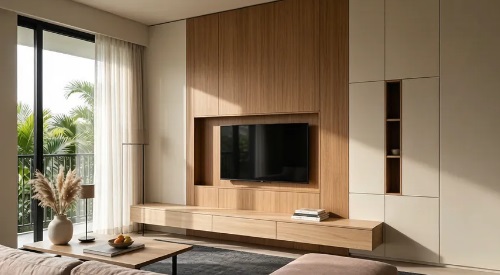
Check the floor level. Many older HDB units slope a few millimetres. A full-height cabinet will show a wedge of light at the bottom if we build it flat and ignore the fall.
Account for the false ceiling and cornice. HDB flats often have a dropped ceiling near the service yard and master bedroom. We note the lowest point so the top of the unit clears it.
Find the true square. Measure both diagonals of the alcove. If they differ, the corner isn't 90 degrees and the carcass must be scribed to match the wall.
How We Handle an Out-of-Square Wall
When a wall isn't square, we don't fight it. The cabinet is built square in the workshop, then the exposed edge is scribed on site so it follows the wall perfectly. You never see the gap, and the doors stay straight.
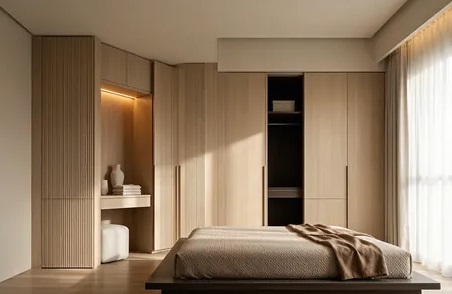
For wardrobes in the master bedroom, we leave a deliberate 5-10mm fitting tolerance and pack the back out with shims. That tiny buffer is the difference between a door that drags and one that glides for years.
What You Should Do Before the Measure
You can make the visit faster and more accurate, and it protects your own timeline:
1. Clear the alcove so we can reach the floor and both corners without moving things halfway through.
2. Mark where the power points, DB box, and water pipes run. A cabinet cannot cover a distribution board, and we need to plan around it.
3. Decide the finished floor height. If you're laying vinyl after the measure, tell us the exact thickness, usually 4-8mm, so the plinth sits flush.
4. Point out any air-con trunking or conduits fixed to the wall so we don't design a unit that clashes with them.
The Real Cost of Skipping the Second Check
A redo isn't just the cost of a board. It's a fresh workshop slot, another delivery, and another half-day of installation, which typically pushes your timeline out by two to three weeks on top of the original wait.
A proper measure on day one costs nothing and saves all of that. For a full home, the survey is usually booked after wet works are done but before painting, so the numbers are stable and the fit is clean.
For most local homes, the safe path is simple: measure three times, cut once, and let the maker scribe the last few millimetres on site. When the drawings come from a real survey rather than a floor plan, your cabinets arrive ready to drop in, and you avoid the most expensive surprise in the whole project.