Custom Furniture for nook: A Nook That Hides Wires
Custom Furniture for a reading nook should swallow every cable in plain sight — we build the wire chase into the carcass so your charger, router, and lamp cords vanish behind a flush panel. A calm corner isn't about owning less tech; it's about giving each wire a proper home.
Why loose wires ruin a good nook
Most homeowners lose the peace of a corner the moment a laptop charger and a phone cable snake across the floor. In a typical 4-room HDB flat of roughly 90 sqm, every metre of wall reads as clutter when cords tangle, even if the room is spotless.
We've watched lovely bay windows turn into cable graveyards. The real fix isn't a longer extension cord — it's planning the route before the first panel is cut.
How we build a nook that hides wires
Our method is simple and field-tested across BTO and resale flats:
- Carve a rear chase behind the back panel, at least 50mm deep, so plugs and adapters sit inside the furniture, not behind it.
- Route a brush plate at desk height for the laptop and a second one lower for floor devices like a vacuum or humidifier.
- Add a slim shelf above for the router, with ventilation gaps so it doesn't overheat in Singapore's year-round humidity.
- Finish with a lift-off panel so you can reach the sockets during the 1-year defect liability period and years after.
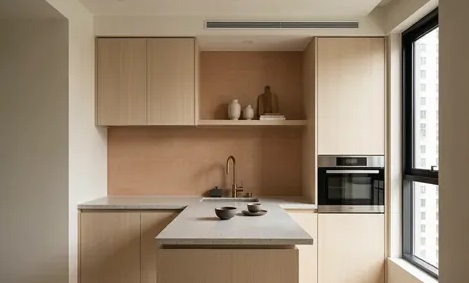
Mark where each socket lands on the carcass drawing. Your electrician thanks you, and so does the next owner.
Custom Furniture materials that keep the nook quiet
For a nook, we usually recommend plywood carcasses with a laminate face. Plywood holds screws far better than MDF and won't swell if a monsoon rain finds the window. MDF is cheaper and smoother for paint, but it hates moisture, so we skip it near bay windows.
Solid wood looks gorgeous but moves with our weather — expect small seasonal gaps at joints unless it's properly seasoned and acclimatised. Laminate is the workhorse: scratch-resistant, easy to wipe, and available in finishes that read like oak or walnut without the price.
Cost and timeline you can plan around
A built-in nook with wire management runs roughly S$1,200 to S$2,800, depending on size and how many power points we integrate. It sits inside the broader S$30k–70k renovation budget most HDB owners set aside.
From measurement to installation, count on 6 to 10 weeks. Measure and 3D design take about a week, fabrication is 4–6 weeks, and install is a day or two. Book early if your BTO key collection lands near a school-holiday peak when workshops fill up.
Keeping it neat after handover
Label each cable at both ends on day one. A cheap pack of tags saves you an hour of guesswork later. Wipe laminate with a damp cloth — skip harsh solvents that dull the surface over time.
If you ever rent out a room or sell, a clean hidden-wire nook photographs well and quietly tells buyers the home was cared for.
A nook that swallows its own cables feels close to magic the first time you sit down with a charged phone and a clear floor. When you're ready to look at whole-house customization, start with the one corner that bothers you most — that's usually where the best ideas begin.