Custom Furniture with cabinet: A Swim Kit Dries Here
Custom Furniture built around a drying cabinet lets your swim kit dry properly instead of mouldering in a damp heap by the bathroom door. In Singapore's humidity, a dedicated ventilated spot for wet trunks and caps is the difference between gear that lasts and gear that smells by March.
Why a swim kit needs its own spot
We swim year-round here, so wet gear comes home constantly. Tossed on a rack or over the shower screen, it rarely dries before the next session. A sealed, poorly aired pile is where mildew starts.
A drying cabinet changes the habit. The kit goes in one place, air moves through it, and it's ready by morning. No more hunting for a dry cap on the way out the door.
Where the drying cabinet should sit
The best spot is near the common bathroom or the service yard, close to where the kit is peeled off. In a 4-room HDB (about 90 sqm) that's often a shallow run beside the bathroom door.
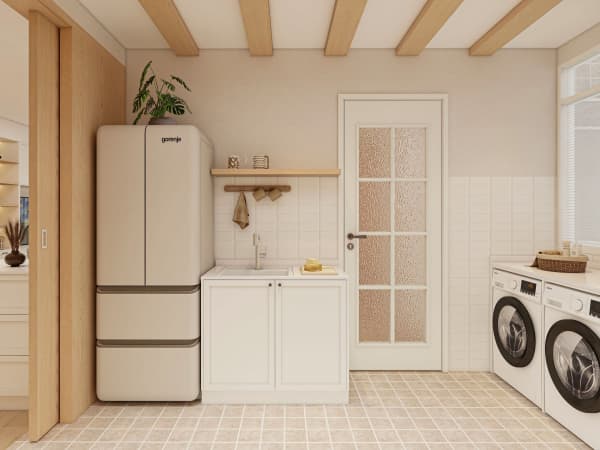
For a 5-room (around 110 sqm), you can tuck it into the service yard itself, away from living areas. Condo owners should check MCST rules first — some management bodies restrict built-ins in the yard or near fire escape routes.
How we build it to actually dry
A drying cabinet isn't just a cupboard. The details do the work:
Slatted shelves. Air flows around each item instead of trapping it flat against a surface.
Ventilation. A small passive vent to the outside, or a low-watt fan on a timer, keeps air moving without a racket.
Drip tray. A removable tray at the bottom catches the last drops so the floor stays dry.
Hook rail. Hooks at child and adult height mean the whole family's kit hangs instead of crumpling.
Custom Furniture for a wet-and-dry corner
Custom Furniture for this corner works best when it's matched to your routine. If two kids swim, we build two columns. If you're a triathlete with a wetsuit, we widen one bay and add a heavier hook.
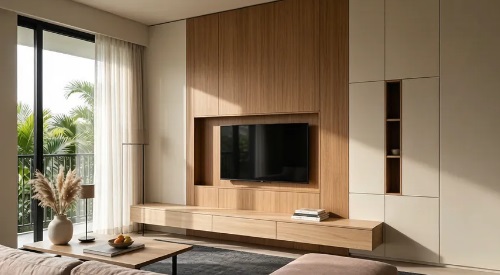
The cabinet doesn't need to be deep. Thirty centimetres is plenty for trunks and caps, which keeps it slim against the wall. We finish the inside with a marine-grade laminate so moisture doesn't lift the edges over time.
Materials that won't rot
Near water, board choice is everything:
Marine plywood resists damp better than standard grades and is our pick for the carcass.
Laminate on the interior face wipes clean and won't stain from chlorine residue.
MDF is a poor choice here — one soaked towel left too long and it balloons. Avoid it in any wet zone.
Solid wood can work but needs a proper sealant and regular upkeep in our climate.
Cost, timeline and what to expect
A slim drying cabinet runs roughly S$900 to S$2,200, depending on height, ventilation and material. That's a small add-on within a full reno budget of S$30k to S$70k.
From measure to install, allow about 6 to 10 weeks. HDB projects carry a one-year defect liability period, so a sticking door or a loose vent gets sorted in the first year at no cost to you.
Upkeep and resale value
Empty the drip tray weekly and wipe the laminate monthly. Check the fan filter if you fitted one — a clogged filter just hums and does nothing.
At resale, a drying cabinet reads as thoughtful, especially to another swimming family. It's a quiet selling point rather than a feature you have to talk up. Keep the finish neutral and the next owner will likely keep it as is.
The plain truth is that swim kit dries best when it has a home built for the job. Give it airflow, a drip tray and a hook at the right height, and the gear lasts longer and the flat smells better. Sometimes the smallest built-in earns the most thanks.