Custom Furniture with Lighting: Ambience Built Into Cabinets
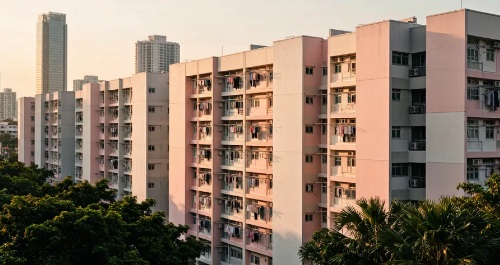
Built-in lighting changes how a room feels after dark, and Custom Furniture with light tucked into the cabinets gives your HDB or condo a warm glow without a single exposed wire. Done right, it makes a small flat feel bigger and calmer at night.
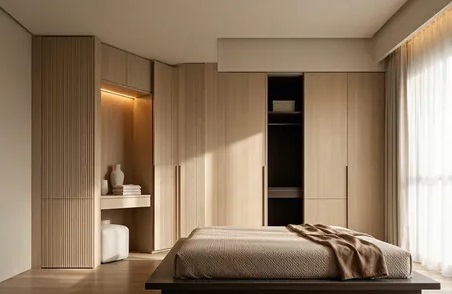
Why Custom Furniture with Lighting Pays Off
Clip-on puck lights and standing lamps add clutter. Light built into the carcass does the opposite — it hides the source and shows only the effect. You get ambience without another device on the floor.
We see three clear wins for local homes:
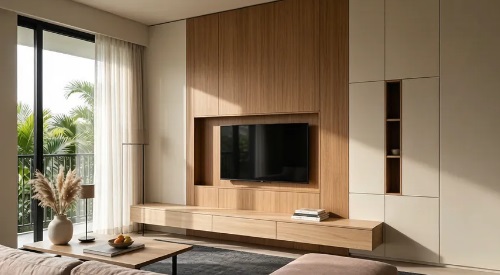
- Mood control. A dimmed strip behind the TV console softens the room when the main lights go off.
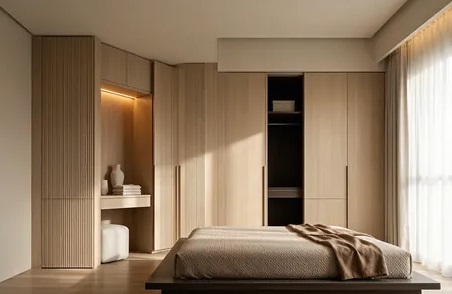
- Function. A lit wardrobe interior means you find the tie at 6am without switching on the bedroom light.
- Space. Uplight along a full-height cabinet makes a 4-room flat's living wall read as taller than it is.
Where to Put the Light
Placement matters more than brightness. A few spots we use constantly:
Under-cabinet task light. In the kitchen, an LED strip beneath the upper cabinets lights the counter for meal prep and looks clean when the ceiling light is off.
Inside wardrobes. A motion sensor switches on the moment you open the door. No fumbling for the switch half-asleep.
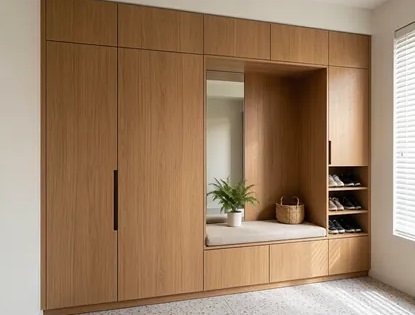
Display niches. A shelf with a downlight turns a single artefact or plant into a focal point in the living room.
Toe-kick glow. A low strip at the base of a console gives a floating effect and a safe path to the bathroom at night.
Cove lighting. Light tucked where the cabinet meets the ceiling washes the wall and removes hard shadows.
LED Types and What They Cost
We stick to LED for good reason: low heat, long life, and a power draw that won't surprise you on the bill. In Singapore's climate, cool-running lights also mean less strain on the air-con.
Profile strips (aluminium channels with diffuser) give the softest, most even line and sit flush inside a routed groove. They cost a bit more but look the part.
Self-adhesive tape strips are cheaper and quick to fit, though the adhesive can weaken in humid kitchens over years. We reserve them for dry areas.
Low-voltage vs mains. Most cabinet lighting runs on a 12V or 24V driver. That keeps the wiring safe inside a wooden carcass and meets standard practice for built-in fixtures.
Budget roughly S$300 to S$1,500 extra for integrated lighting across a feature wall or wardrobe, depending on how many zones and sensors you want. It's a small add-on against a S$30k to S$70k renovation and lifts the whole result.
Power, Wiring, and HDB Rules
Plan the electrics before the carpentry goes in. We route the driver and cable inside the cabinet during build, so there's nothing to chase later.
Timeline: lighting is part of the same 6 to 10 week custom furniture flow — measure, design, workshop, install. Tell us early if you want it, because the channels are cut at the factory stage.
For HDB flats, built-in low-voltage lighting inside cabinets isn't structural work, so no permit is needed. The 1-year defect liability period still applies, so a flickering strip or a dead sensor within that year should be fixed by your contractor at no cost.
Condo owners should loop in the MCST, since any new power point near a common wall may need the management's nod and a booked workslot. Raise it before the install date to avoid a delay.
Keeping It Simple and Maintainable
Choose a single warm-white temperature, around 3000K, for the whole home so rooms feel consistent. Mixing cool and warm light reads as messy.
Use a dimmer or app control on at least the living room zone. You'll use it far more than you expect — bright for cleaning, low for movie night.
Ask for fittings you can swap. LED strips do fail eventually, so we leave the profile accessible rather than sealed behind a panel.
Lighting is the cheapest way to make custom cabinets feel designed rather than just built. If you're already planning storage, putting the light in from the start costs less than retrofitting it later.